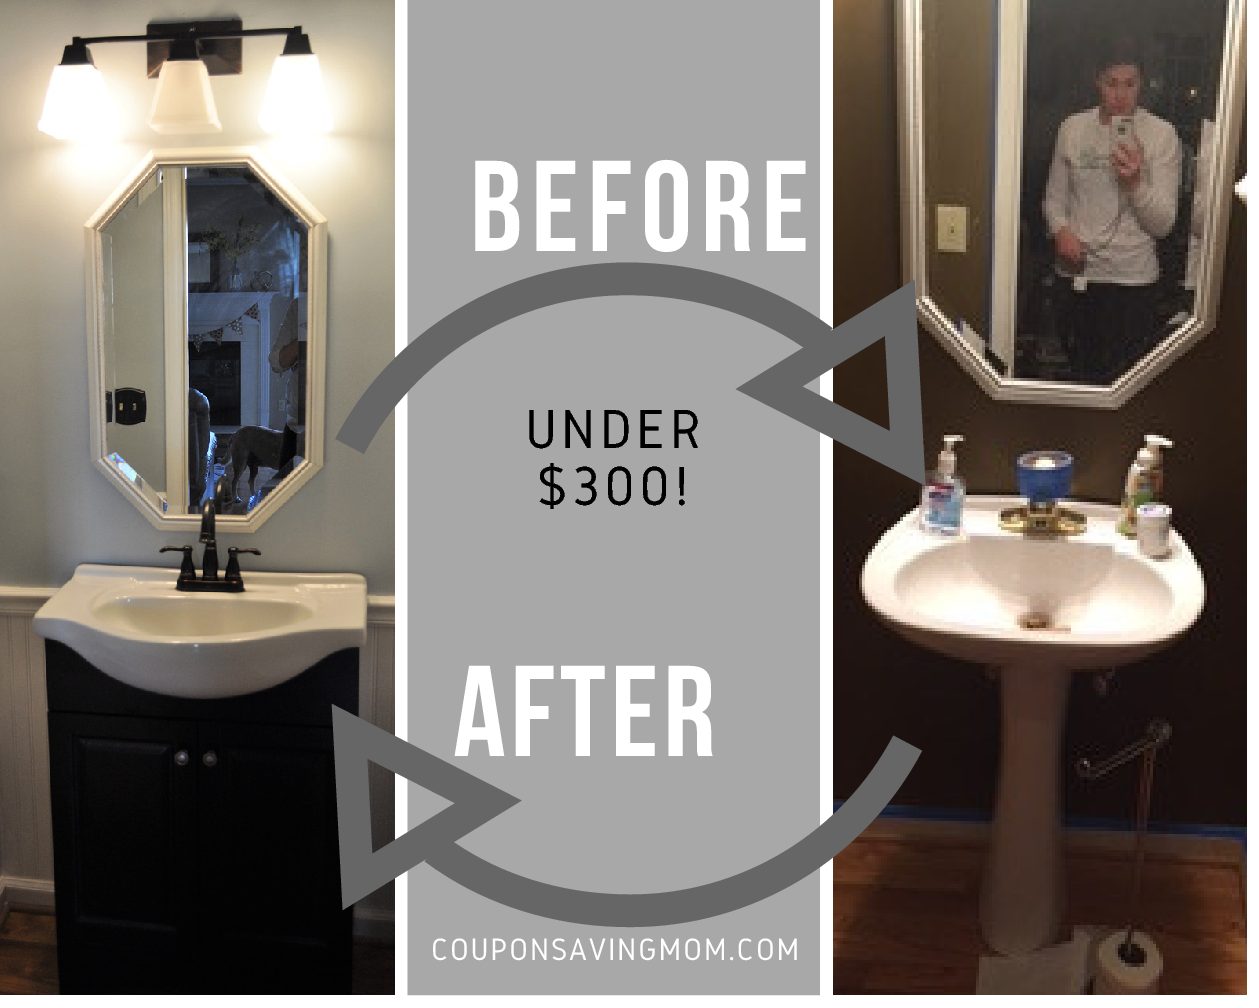
I had our main level half bathroom on my “to-do list” since the day we bought our home. It initially had “lovely” navy, gold, and burgundy wall paper that was removed the first few months after moving into our home. At the time I opted to just paint with some leftover paint in the garage, hence the brown. It was not our first choice, but I didn’t want to spend money to repaint and remodel the bathroom so brown it was.
I had been looking for some Pinterest inspiration and ran across this photo. I knew with the small space we were working with that I would only be able to incorporate a few of these inspirations.

Off to Home Depot we went…


First order of business was to remove all photos, mirrors, the old sink, mirror and tape around the existing crown molding. As a learned tip, remove your base boards before painting if you are putting in bead board. Being our first time installing bead board, we left the base boards while painting for them only to be removed later. It would have made painting much easier if they were removed first.

After two coats of paint (paint & primer in one), we removed the base boards and installed the bead board. Since we were working with a smaller space this was a fairly quick process.

Once the bead board was installed then we reapplied the base boards and installed the chair rail at the top. I painted two coats of white paint (left over) to the bead boards, base boards and chair rails to give everything a smooth finish. The natural texture of bead boards will hold all scratches, scrapes and fingerprints. I HIGHLY suggest painting these once they are installed to eliminate toddler fingerprints from being the artwork in your new bathroom :). After touch up paint and installing the new vanity and mirror we were done!
I did want to mention that I opted to go for a different vanity because we needed some extra storage in the bathroom. We choose an inexpensive and small vanity. If you currently have a vanity that has storage you can save even more money by giving your vanity a fresh coat of paint! That was not really an option for us since we only had a sink, but I do plan to use this method when we “spruce” up our other bathrooms.

how to paint your vanity
This project could have easily been finished during the course of a few days (or weekend). We began late on a Saturday and had most completed by Sunday night. We were not fully able to finish until the following weekend since our toddler wanted to help and we have a 9 month old that thinks anything on the floor is on the menu.
VIOLA!


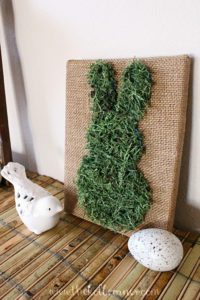
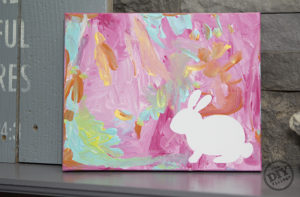
My lovely friend made me the artwork, which is what inspired me to mark this off my to-do list. I told myself that I was not going to hang this until I completed our reno and I was so excited to see it hung in the new space!

BowenArrowCreations
Paint: $30 (paint and primer in one)
Bead board: $60
Chair rail: $30
Vanity: $110 (if you opt to paint your own it would save $$!)
Glue (for bead board): $3
Lighting: $20 (found on a clearance a few months ago)
Brushes, mirror, caulk, nail gun, nails and white paint.
Save


